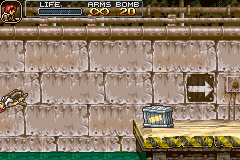
| title | comment |
Mission 1
|
1-01:ハジマリ ハ イツモ トツゼン
The beginnings are always sudden |
Mission start. |
1-02:ハイキョ ノ ギリダ
Girida-O in the ruins |
Area 3: Metal Slug at the ruins. |
1-03:カイキ!! キョダイメタスラ!?
Strange!! A huge Metal Slug?! |
Boss (vs. Formor) |
1-04:ザ ハングドマン
The hanged man |
Secret cave (unlocked with Tutor's Love) |
1-05:サクセン カイシ ジョウリク セヨ
Start the operation, and end it |
Intro (storming the beach) |
1-06:ノボレ! モーデン ノ ガケ
Climb! Morden's cliff |
Area 2: Ascending the cliff |
Mission 2
|
| 2-01:no title |
Mission start. |
| 2-02:no title |
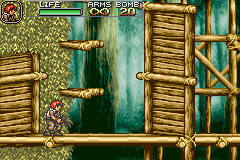
Area 2: Japanese treetops (unseen section) |
| 2-03:no title |
Boss (vs. Emain Macha) |
| 2-04:no title |
Side- room (dynamite cave) |
Mission 3
|
| 3-01:no title |
Mission start. (unseen section) |
| 3-02:no title |
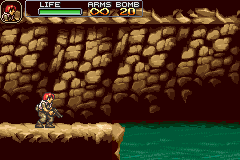
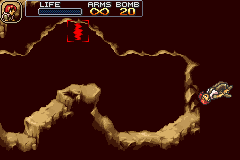
Area 2: Cavern |
3-03:グンヨウ レッシャ
Military train |
Boss (vs. Kaladgolg) |
| 3-04:no title |
Secret cave 2 (left) |
| 3-05:no title |
Secret cave 1 (right) |
3-06:ウラギリモノメ!
You traitor! |
Intro (Allen Jr.'s betrayal) |
| 3-07:no title |
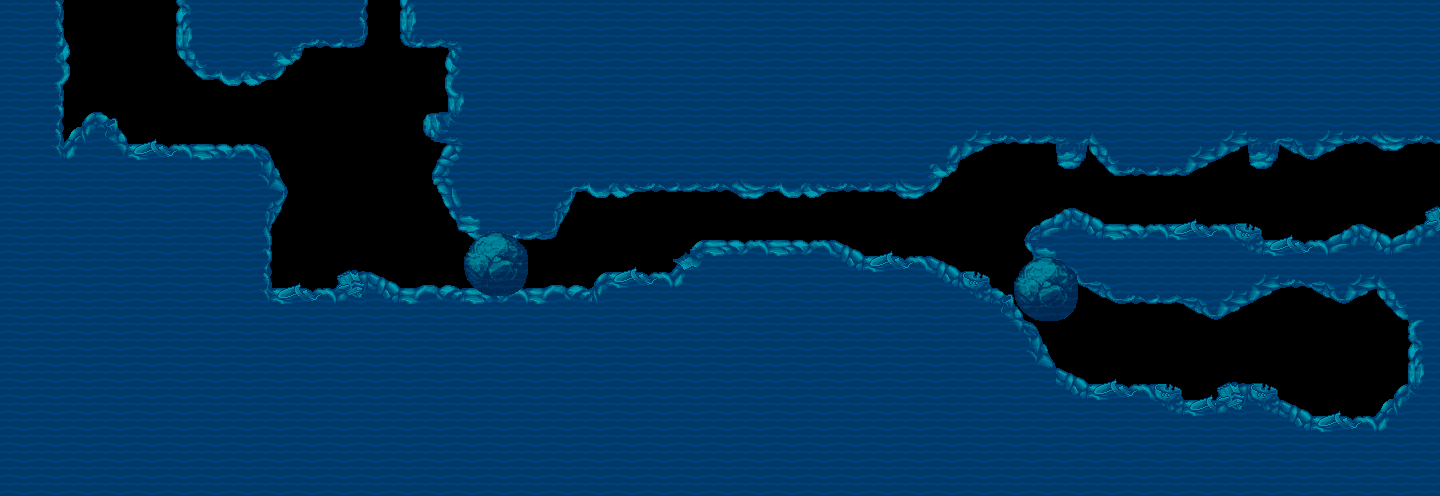
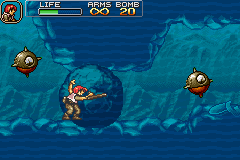
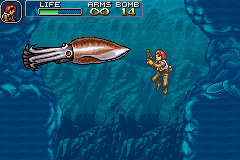
UNUSED (underwater path) |
| 3-08:no title |
UNUSED (underwater entrance) |
| 3-09:no title |
UNUSED (underwater exit) |
| 3-10:no title |
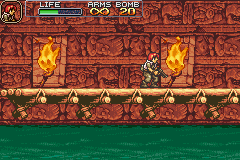
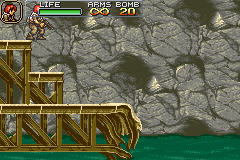
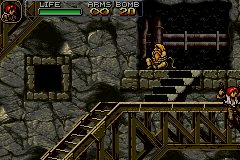
Area 3: Underground river |
Mission 4
|
| 4-01:no title |
Mission start. |
| 4-02:no title |
Area 2: Mountainside |
| 4-03:no title |
Area 3: Elevator central |
4-04:ヒコウセン
The flying boat |
Boss (vs. The Keesi III) |
| 4-05:no title |
UNUSED (underwater entrance) |
| 4-06:no title |
UNUSED (underwater tunnel) |
Mission 5
|
| 5-01:no title |
Part 3 (base entrance) |
| 5-02:no title |
Route 1: Area 2 |
| 5-03:no title |
Route 2: Area 2 |
| 5-04:no title |
Route 2 dead end (urinal) |
| 5-05:no title |
Route 3 dead end (toilet) |
| 5-06:no title |
Route 1: Area 1 |
| 5-07:no title |
Route 1 dead end |
| 5-08:no title |
Route 2: Area 1 |
| 5-09:no title |
Route 1: Area 3 |
| 5-10:no title |
Route 1: Area 4 |
| 5-11:no title |
Route 1: Area 5 |
| 5-12:no title |
Route 2: Area 4 |
| 5-13:no title |
Route 3: Area 2 |
| 5-14:no title |
Route 3: Area 4 |
5-15:ファイナルアタック
Final Attack |
Boss (vs. Cabracan) |
|
5-16:アレン ジュニア
Allen Junior |
Route 2: Area 5 (vs. Allen Jr.) |
| 5-17:no title |
Part 2 Route 2B (enemy docks) |
| 5-18:no title |
Route 2 dead end (storage room) |
| 5-19:no title |
Route 2: Area 3 |
| 5-20:no title |
Route 3: Area 1 |
| 5-21:no title |
Route 3: Area 3 |
| 5-22:no title |
Route 1: Area 6 |
5-23:ハリアー クウチュウセン
Harrier aerial battle |
Part 2 Route 1A (Slug Flyer) |
5-24:コウクウ パラシュート
High-altitude parachute |
Part 2 Route 2A (the towers) |
|
5-25:ハリアー オクナイセン
Harrier indoor battle |
Part 2 Route 1B (landing strip) |
5-26:ハリアー トウジョウ
Boarding the harrier |
Mission start. |
Dungeon
(this is gonna get hairy, apologies for the naff descriptions)
|
| 6-01:no title |
Mission start/starting point |
| 6-02:no title |
Area 1: top-left |
| 6-03:no title |
Area 1: right of 6-01 |
| 6-04:no title |
Area 1: below 6-01, vertical passage to 6-05 |
| 6-05:no title |
Area 1: bottom-left (below 6-04) |
| 6-06:no title |
Area 1: Intersection with vertical chamber
(below 6-03, above 6-07) |
| 6-07:no title |
Area 1: Vertical chamber (below 6-06, above |
| 6-08:no title |
Area 1: Intersection (above 6-09) |
| 6-09:no title |
Area 1: below 6-08 |
| 6-10:no title |
Area 1: lower-middle (right of 6-05) |
| 6-11:no title |
Area 1: bottom-left (lower-right of 6-10) |
| 6-12:no title |
Area 1: top-centre-left (left of 6-14) |
| 6-13:no title |
Area 1: middle slope (right of |
| 6-14:no title |
Area 1: middle-centre (right of 6-13) |
| 6-15:no title |
Area 1: slope (right of 6-08) |
| 6-16:no title |
Area 1: lower-right (above 6-11) |
| 6-17:no title |
Area 1: bottom-centre (Entrance A to Area 2) |
| 6-18:no title |
Area 2: middle-right (Entrance A) |
| 6-19:no title |
Area 1: middle-centre (right of 6-14) |
| 6-20:no title |
Area 1: top-left of Entrance C (above 6-27) |
| 6-21:no title |
Area 1: Intersection (left of 6-27, above 6-25) |
| 6-22:no title |
Area 1: absolute bottom (Morden's portrait) |
| 6-23:no title |
Area 2: right of Entrance C |
| 6-24:no title |
Area 1: missile pods near Entrance B (below 6-27) |
| 6-25:no title |
Area 2: middle centre-left (right of 6-23) |
| 6-26:no title |
Area 1: far-right (entrance C to Area 3) |
| 6-27:no title |
Area 1: left of 6-26, above 6-24) |
| 6-28:no title |
Area 1: left of 6-31 |
| 6-29:no title |
Area 2: left of 6-34 |
6-30:デグチ + カード
Exit + card |
Area 2: exit |
| 6-31:no title |
Area 1: middle-far-right (entrance B to Area 2) |
| 6-32:no title |
Area 3: top-far-left (entrance C to Area 2) |
| 6-33:no title |
Area 2: middle intersection with vertical
chamber |
| 6-34:no title |
Area 2: vertical chamber (between 6- and 6-35) |
6-35:デグチ テマエ
Before exit |
Area 2: bottom-right (bottom of vertical chamber) |
| 6-36:no title |
Area 2: top-left (entrance B to Area 1) |
| 6-37:no title |
Area 3: top-left |
| 6-38:no title |
Area 3: middle-left |
| 6-39:no title |
Area 3: bottom-left |
| 6-40:no title |
Area 2: below 6-41 |
| 6-41:no title |
Area 2: top-right (left of 6-49) |
| 6-42:no title |
Area 3: top-centre (above 6-43) |
| 6-43:no title |
Area 3: middle-centre |
| 6-44:no title |
Area 3: vertical passage (between 6-43 and 6-45) |
| 6-45:no title |
Area 3: bottom-centre |
| 6-46:no title |
Area 3: top-right |
| 6-47:no title |
Area 3: middle-right |
| 6-48:no title |
Area 3: bottom-right (entrance D to Area 2, left
of 6-50) |
| 6-49:no title |
Area 2: top-far-right (entrance D to Area 3) |
| 6-50:no title |
Area 3: bottom-far-right (right of 6-48) |
Test stages
|
デモ1-1
[7-01]
Demo 1-1 |
Mission 1, area 1 |
デモ1-2
[7-02]
Demo 1-2 |
Mission 1, area 3 |
デモ2-1
[8-01]
Demo 2-1 |
Mission 2, area 1 |
デモ2-2
[8-02]
Demo 2-2 |
Mission 2, area 2 |
| HOW TO PLAY |
Mission 1, area 2 |
カイハツ テスト1
[9-01]
Development test 1 |
Weapons test |
カイハツ テスト2
[A-01]
Development test 2 |
Slug test |
カイハツ テスト3
[B-01]
Development test 3 |
Enemy test |